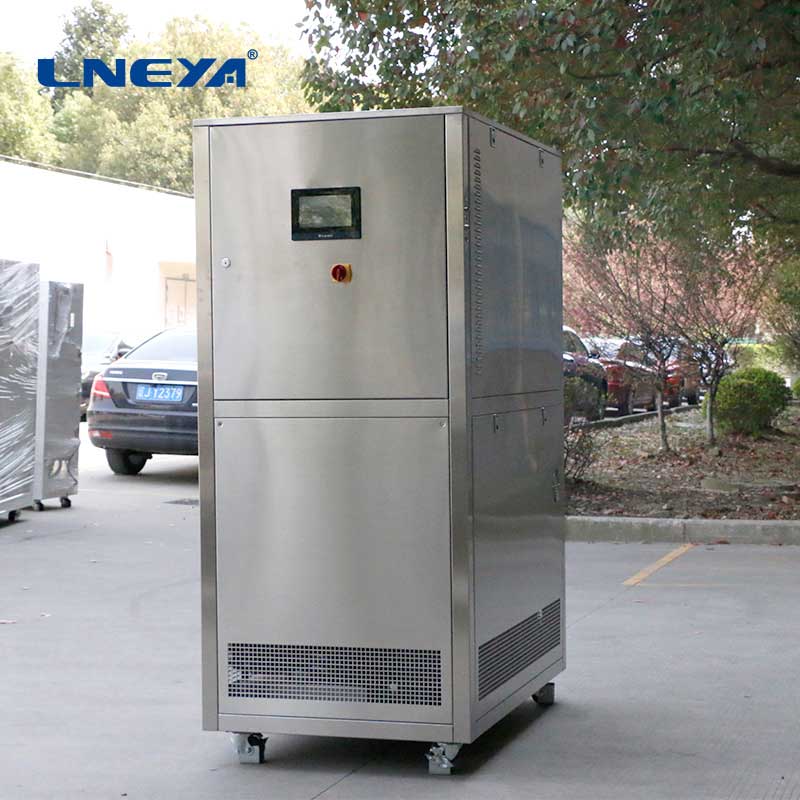
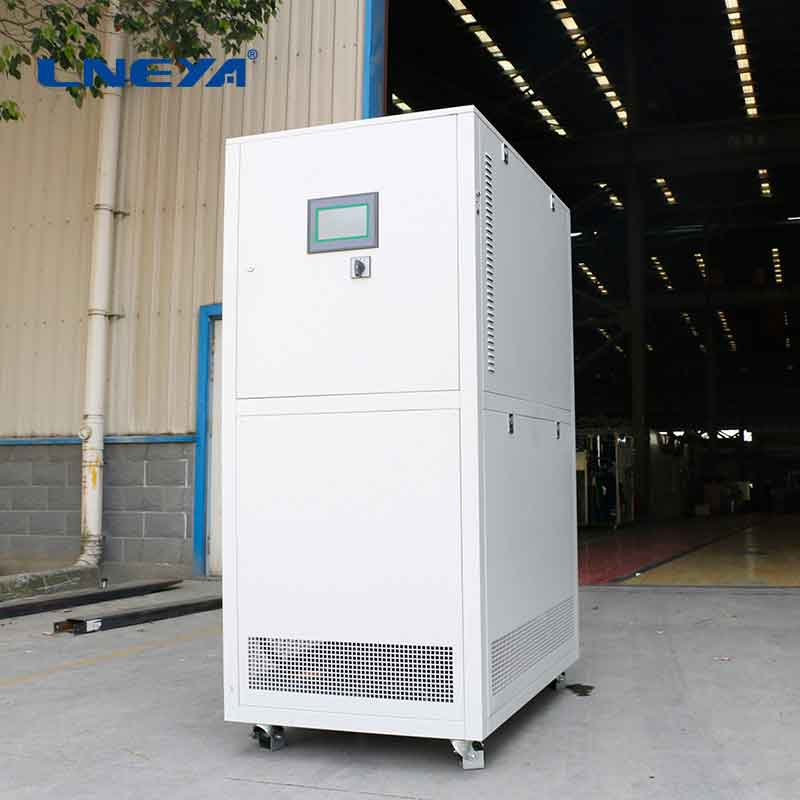
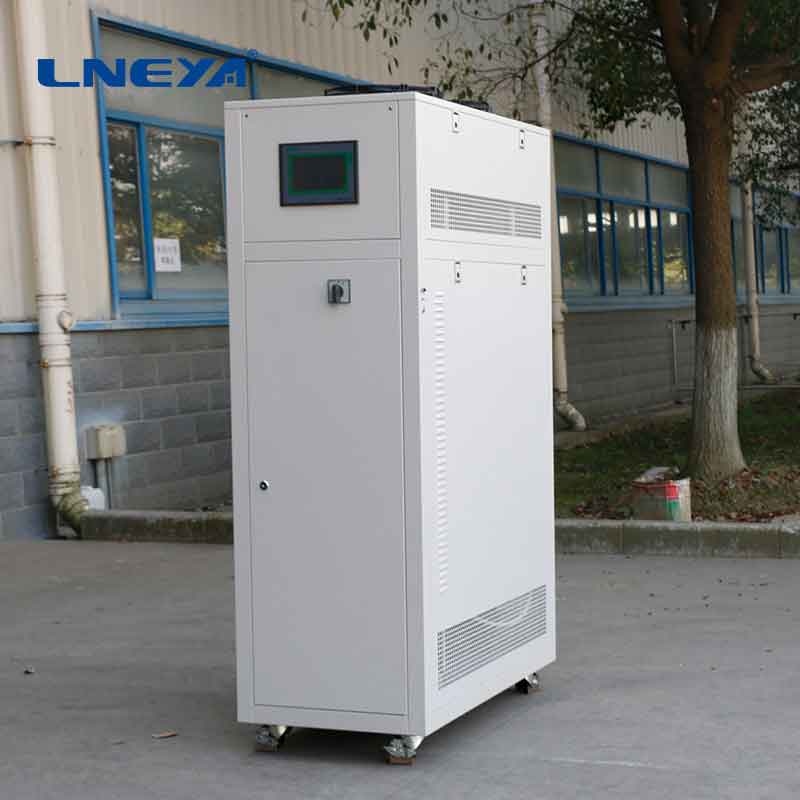
water cooled chiller installation
Pre-installation Planning
Site Selection
The first crucial step in water-cooled chiller installation is choosing the right location. The chiller unit and the cooling tower should be placed in an area with sufficient space to allow for proper air circulation and easy access for maintenance. For the chiller unit, it is recommended to select a level and stable surface, preferably indoors or in a sheltered area to protect it from harsh weather conditions. The cooling tower, on the other hand, is typically installed outdoors. It should be positioned away from obstructions that could impede air flow, such as walls, trees, or other buildings. Additionally, the site should be close to the building’s cooling load source to minimize the length of the chilled water piping, reducing heat losses and pressure drops.

Equipment and Material Procurement
Once the site is selected, the next step is to procure the necessary equipment and materials. This includes the water-cooled chiller unit, cooling tower, water pumps, piping, valves, fittings, insulation materials, and electrical components. It is essential to ensure that all equipment and materials meet the design specifications and relevant industry standards. When purchasing the chiller and cooling tower, consider factors such as cooling capacity, efficiency ratings, and compatibility with the intended application. For piping and fittings, choose materials that are resistant to corrosion and can withstand the operating pressure and temperature of the system.
Design and Layout
Before installation begins, a detailed design and layout plan should be developed. This plan should include the positioning of the chiller unit, cooling tower, water pumps, and the routing of the piping system. The design should take into account factors such as water flow direction, pressure requirements, and the location of the building’s cooling loads. In addition, the electrical layout for power supply and control connections should be carefully planned to ensure safe and reliable operation. Consulting with a professional engineer or a qualified installer can help in creating an optimal design that meets the specific needs of the installation project.
Installation Process
Foundation Preparation
For both the chiller unit and the cooling tower, a solid foundation is essential. The foundation should be designed to support the weight of the equipment and any additional loads, such as the weight of the water in the cooling tower. The foundation for the chiller unit is usually made of reinforced concrete, with proper anchor bolts embedded to secure the unit in place. The surface of the foundation should be leveled to within a specified tolerance to ensure that the chiller operates smoothly. Similarly, the cooling tower foundation should be constructed with the appropriate dimensions and strength, and it should also be leveled accurately.
Chiller Unit Installation

The chiller unit is carefully placed on the prepared foundation. Before positioning, it is important to check the unit for any damage during transportation. Once in place, the chiller is secured to the foundation using the anchor bolts. The unit’s alignment should be checked and adjusted to ensure that it is level both horizontally and vertically. After securing the chiller, the refrigerant lines, chilled water lines, and electrical connections are made according to the manufacturer’s instructions. Special care should be taken when connecting the refrigerant lines to prevent leaks and ensure proper refrigerant flow.
Cooling Tower Installation
The cooling tower is installed outdoors at the designated location. Similar to the chiller unit, it is inspected for damage before installation. The tower components, such as the basin, fill material, fans, and spray nozzles, are assembled according to the manufacturer’s guidelines. The tower should be placed on a level surface, and its alignment should be verified. After assembly, the water inlet and outlet connections of the cooling tower are made to the chiller’s condenser water lines. The electrical connections for the tower’s fans and other components are also completed at this stage.
Piping System Installation
The piping system is a critical part of the water-cooled chiller installation. Pipes are typically made of materials such as copper, stainless steel, or PVC, depending on the application and water quality. The piping should be routed in a way that minimizes bends and obstructions to ensure smooth water flow. When installing the pipes, proper supports and hangers are used to prevent sagging and vibration. The connections between pipes and fittings should be made using appropriate methods, such as soldering for copper pipes or flanged connections for larger diameter pipes. Valves are installed at strategic locations to control the water flow, and strainers are placed at the inlets of pumps and chillers to prevent debris from entering the system.
Pump Installation
Water pumps are installed to circulate the chilled water and condenser water within the system. The pumps should be placed on a stable foundation, preferably close to the chiller and the cooling tower. They are connected to the piping system using flexible couplings to reduce vibration and noise transmission. The electrical connections for the pumps are made, and the pump speed and flow rate are adjusted according to the design requirements. It is important to ensure that the pumps are properly primed before starting to prevent damage due to dry running.
Post-installation Procedures
System Flushing
After the installation of all components is complete, the piping system needs to be flushed thoroughly. Flushing is done to remove any debris, dirt, or construction materials that may have accumulated during the installation process. The system is filled with clean water, and the pumps are operated to circulate the water for a certain period. Valves are opened and closed to ensure that all parts of the system are flushed. After flushing, the water is drained, and the system is refilled with treated water suitable for the chiller operation.
Refrigerant Charging
Once the system is flushed, the refrigerant is charged into the chiller. This process should be carried out by a qualified technician in accordance with the manufacturer’s instructions and safety regulations. The correct amount of refrigerant is added to the system based on the chiller’s specifications. During the charging process, the pressure and temperature of the refrigerant are monitored to ensure that the system is charged correctly.

Electrical and Control System Checks
The electrical connections of the entire system are carefully inspected to ensure that they are properly made and meet the electrical safety standards. All switches, relays, and control devices are tested to verify their functionality. The control system of the chiller, including temperature sensors, pressure switches, and control panels, is calibrated and programmed according to the design requirements. This ensures that the chiller operates automatically and efficiently, maintaining the desired cooling performance.
System Testing and Commissioning
The final step is to test and commission the water-cooled chiller system. The system is started up, and all components are monitored for proper operation. The water flow rate, pressure, and temperature are checked at various points in the system to ensure that they are within the normal operating range. The cooling performance of the chiller is also tested by gradually increasing the cooling load and verifying that the chiller can maintain the set temperature. Any issues or abnormalities detected during the testing process are addressed immediately, and the system is adjusted until it operates smoothly and efficiently.
In conclusion, the installation of a water-cooled chiller is a complex but crucial process that requires careful planning, precise execution, and thorough post-installation procedures. By following the steps outlined in this guide and adhering to industry standards and manufacturer’s instructions, you can ensure a successful installation that will provide reliable and efficient cooling for years to come.
Related recommendations
temperature cooling system
715Introduction to Temperature Cooling Systems Temperature cooling systems are engineered solutions designed to control and reduce temperatures in a variety of settings. They play a critical role ...
View details50 ton water cooled chiller
85750 Ton Water-Cooled Chiller: Efficient Cooling Solutions for Medium to Large-Scale Applications A 50-ton water-cooled chiller is a critical component in HVAC systems, providing efficient coolin...
View detailswaterchillers
230Working Principles of Water ChillersThe fundamental operation of water chillers is rooted in the refrigeration cycle, which is a closed - loop process involving four key components. The cycle ini...
View detailsindustrial process chillers
386Industrial Process Chillers: Vital for Precise Temperature Control Industrial process chillers play a critical role in a wide range of industries where temperature control is essential for proc...
View details
 LNEYA Chiller


HelloPlease log in