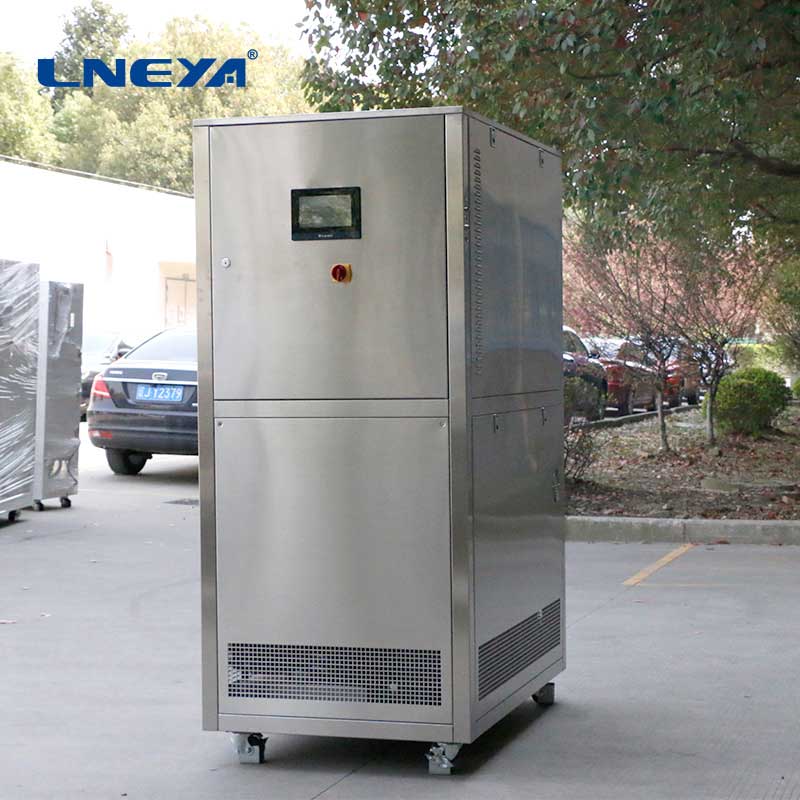
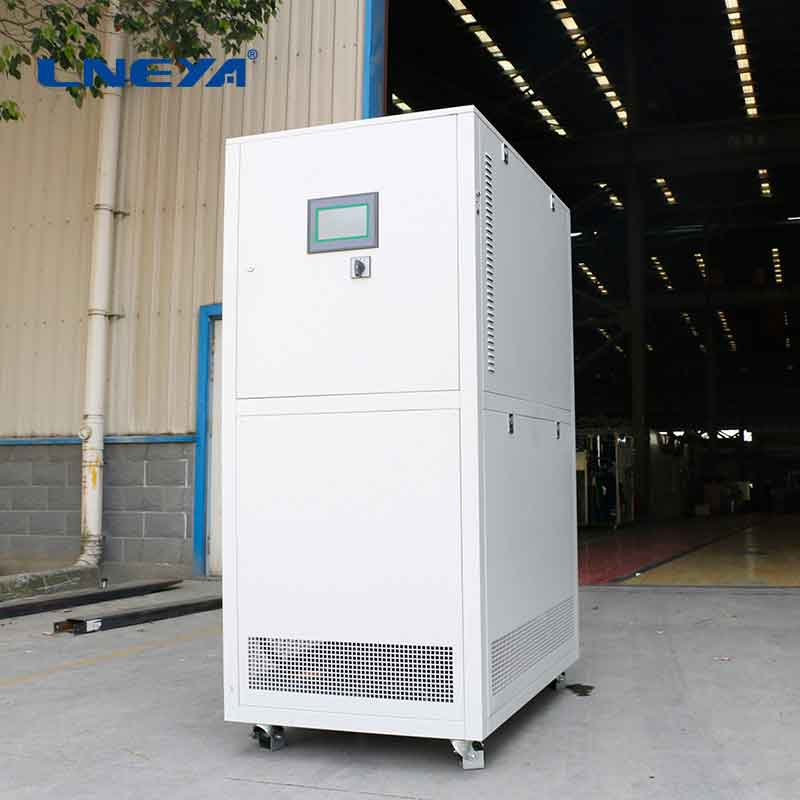
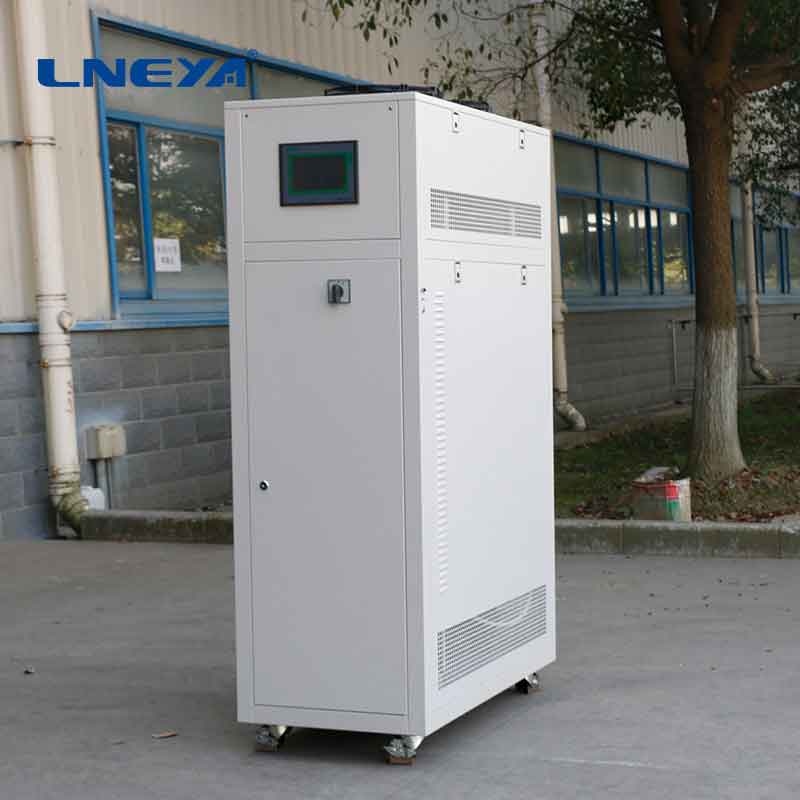
water cooled chiller installation
A Comprehensive Guide to Water-Cooled Chiller Installation
The installation of a water-cooled chiller is a critical step in ensuring the efficient operation of a cooling system. Proper installation not only affects the performance of the chiller but also its longevity and maintenance requirements. This article outlines the key steps and considerations in the installation process, providing a valuable resource for those responsible for overseeing or conducting chiller installations.

Site Preparation
Assessment of Site Conditions:
Before installation begins, it is essential to assess the site conditions, including the availability of space, access to water sources, and the presence of any obstructions that may impact the installation.
Preparation of the Chiller Pad:
The chiller pad, or the area where the chiller will be installed, must be level and strong enough to support the weight of the chiller and any associated equipment.
Utilities and Connections:
Ensure that the necessary utilities, such as electrical power and water supply, are available and properly connected to the chiller pad.
Equipment Selection and Delivery
Selection of the Chiller:

Choose a chiller that is appropriately sized for the cooling load and compatible with the existing system.
Delivery and Unloading:
Coordinate the delivery of the chiller to ensure that it arrives on site in a timely manner and is unloaded carefully to avoid damage.
Piping and Plumbing
Piping Design:
Design the piping system to minimize pressure drop and ensure efficient flow of water through the chiller.
Installation of Piping:
Install the piping system according to the design specifications, ensuring that all connections are secure and leak-free.
Water Treatment:
Implement a water treatment program to protect the chiller and piping from corrosion, scale buildup, and biological growth.
Integration with Existing Systems
Connection to the Cooling Tower:
Connect the water-cooled chiller to the cooling tower, ensuring that the water flow is balanced and the system operates efficiently.
Integration with the Building Management System:

Integrate the chiller with the building management system (BMS) to enable remote monitoring and control.
Commissioning and Testing
System Startup:
Start up the chiller and monitor its operation to ensure that it is functioning correctly and efficiently.
Performance Testing:
Conduct performance tests to verify that the chiller meets the specified cooling capacity and efficiency requirements.
Training and Handover:
Train the facility staff on the operation and maintenance of the chiller and provide all necessary documentation for ongoing management.
Maintenance and Ongoing Operations
Regular Maintenance:
Establish a regular maintenance schedule to keep the chiller operating efficiently and to prevent potential issues.
Monitoring and Adjustments:
Monitor the chiller’s performance and make adjustments as needed to optimize efficiency and ensure long-term reliability.
Conclusion
The installation of a water-cooled chiller is a multifaceted process that requires careful planning, execution, and ongoing management. By following the guidelines outlined in this article, users can ensure a successful installation that maximizes the chiller’s performance, efficiency, and longevity. Proper installation, integration with existing systems, and regular maintenance are all critical components of a successful water-cooled chiller installation.
Note: This article is intended for informational purposes only and should not be considered as professional advice. For specific applications, it is recommended to consult with a qualified HVAC professional.
Related recommendations
Factors to Consider when Purchasing Chiller Equipment
1488Factors to Consider when Purchasing Chiller Equipment Brand factors Brand is an important reference factor for us to choose chiller equipment. Brand means service and quality reputatio...
View detailscryogenic recirculating chiller
334Introduction to Cryogenic Recirculating ChillersCryogenic recirculating chillers represent the pinnacle of cooling technology, engineered to create and sustain the frigid environments required fo...
View detailshot and cold plate
509Hot and Cold Plate: A Comprehensive Guide Introduction A hot and cold plate is an essential tool in laboratories and industrial settings, offering precise temperature control for heating or ...
View detailsEnergy Saving Measures for Industrial Chiller Machine
1466Energy Saving Measures for Industrial Chiller Machine Because different regions and industries have different habits, there are many titles for the industrial chiller industry, such as indus...
View details
 LNEYA Chiller


HelloPlease log in